Devil’s Garden Trail, Utah
Total Distance: 7.5 miles
Elevation Gain: 1,128 feet
Trail Type: Loop
Difficulty: Moderate / Advanced
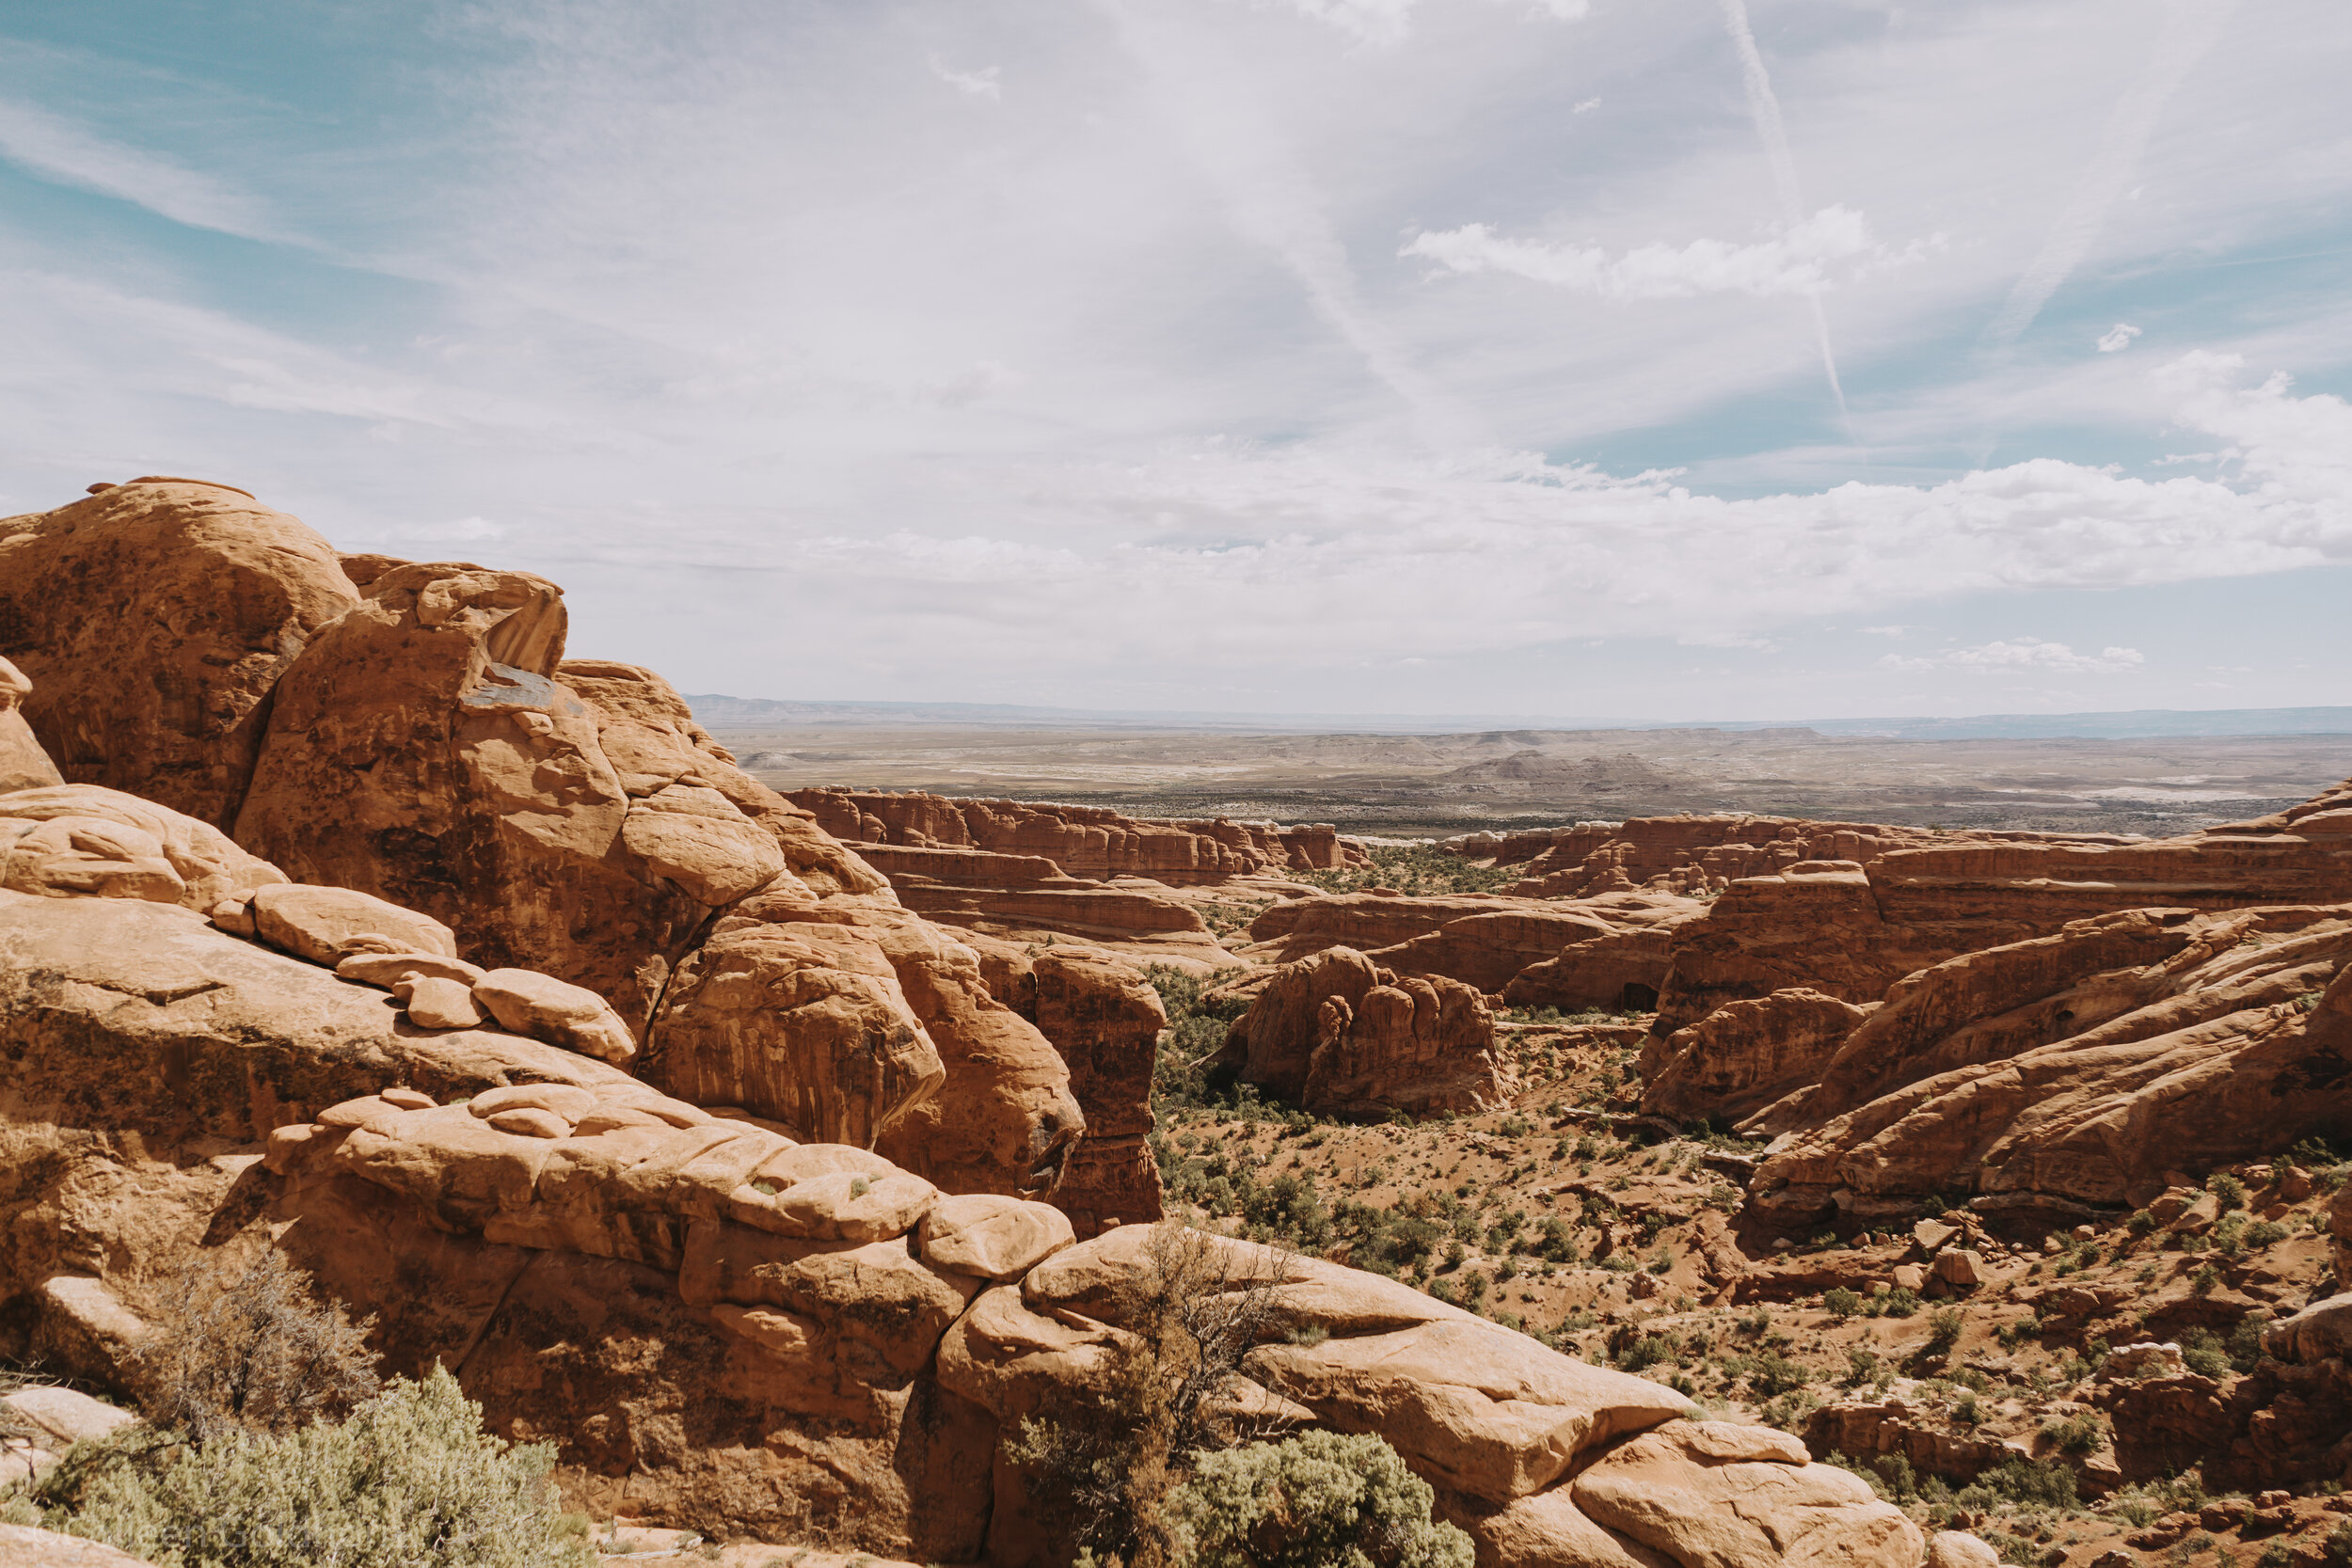
The Hike: Most visitors to Arches National Park come with the goal of seeing as many natural sandstone arches as they can. If you’re looking to add 8 more to your list, then there is no better place than the Devil’s Garden Trail.
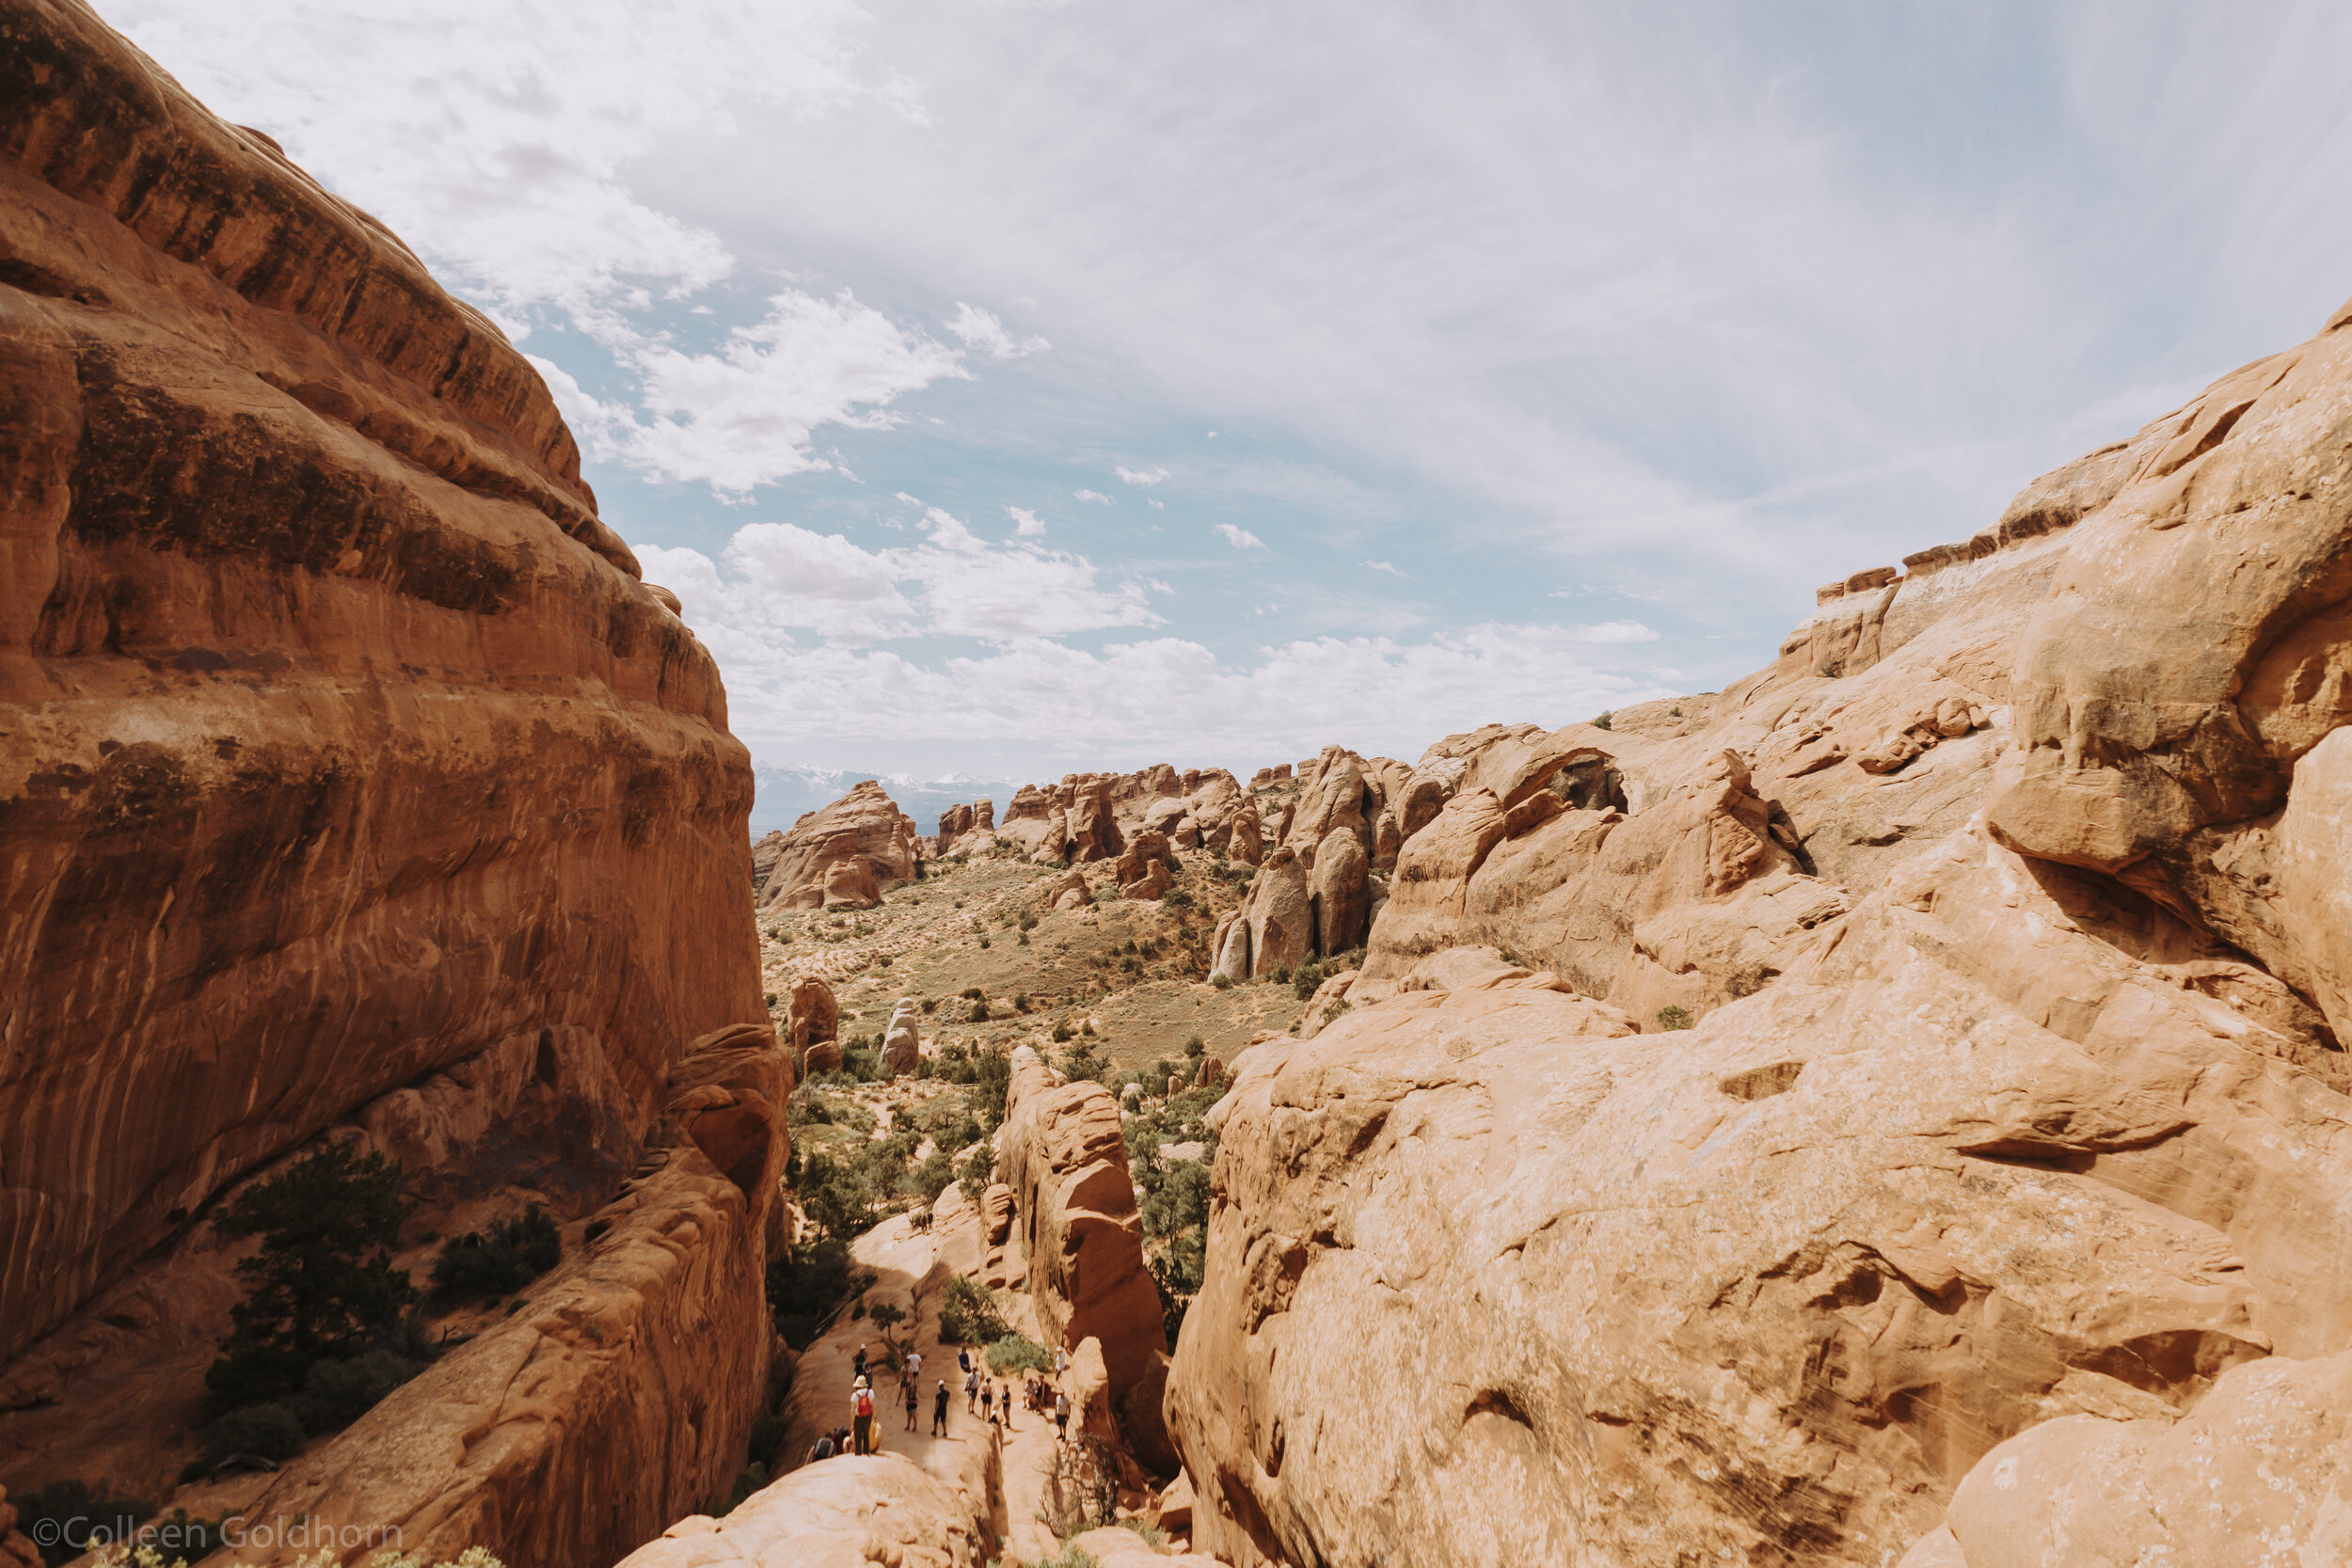
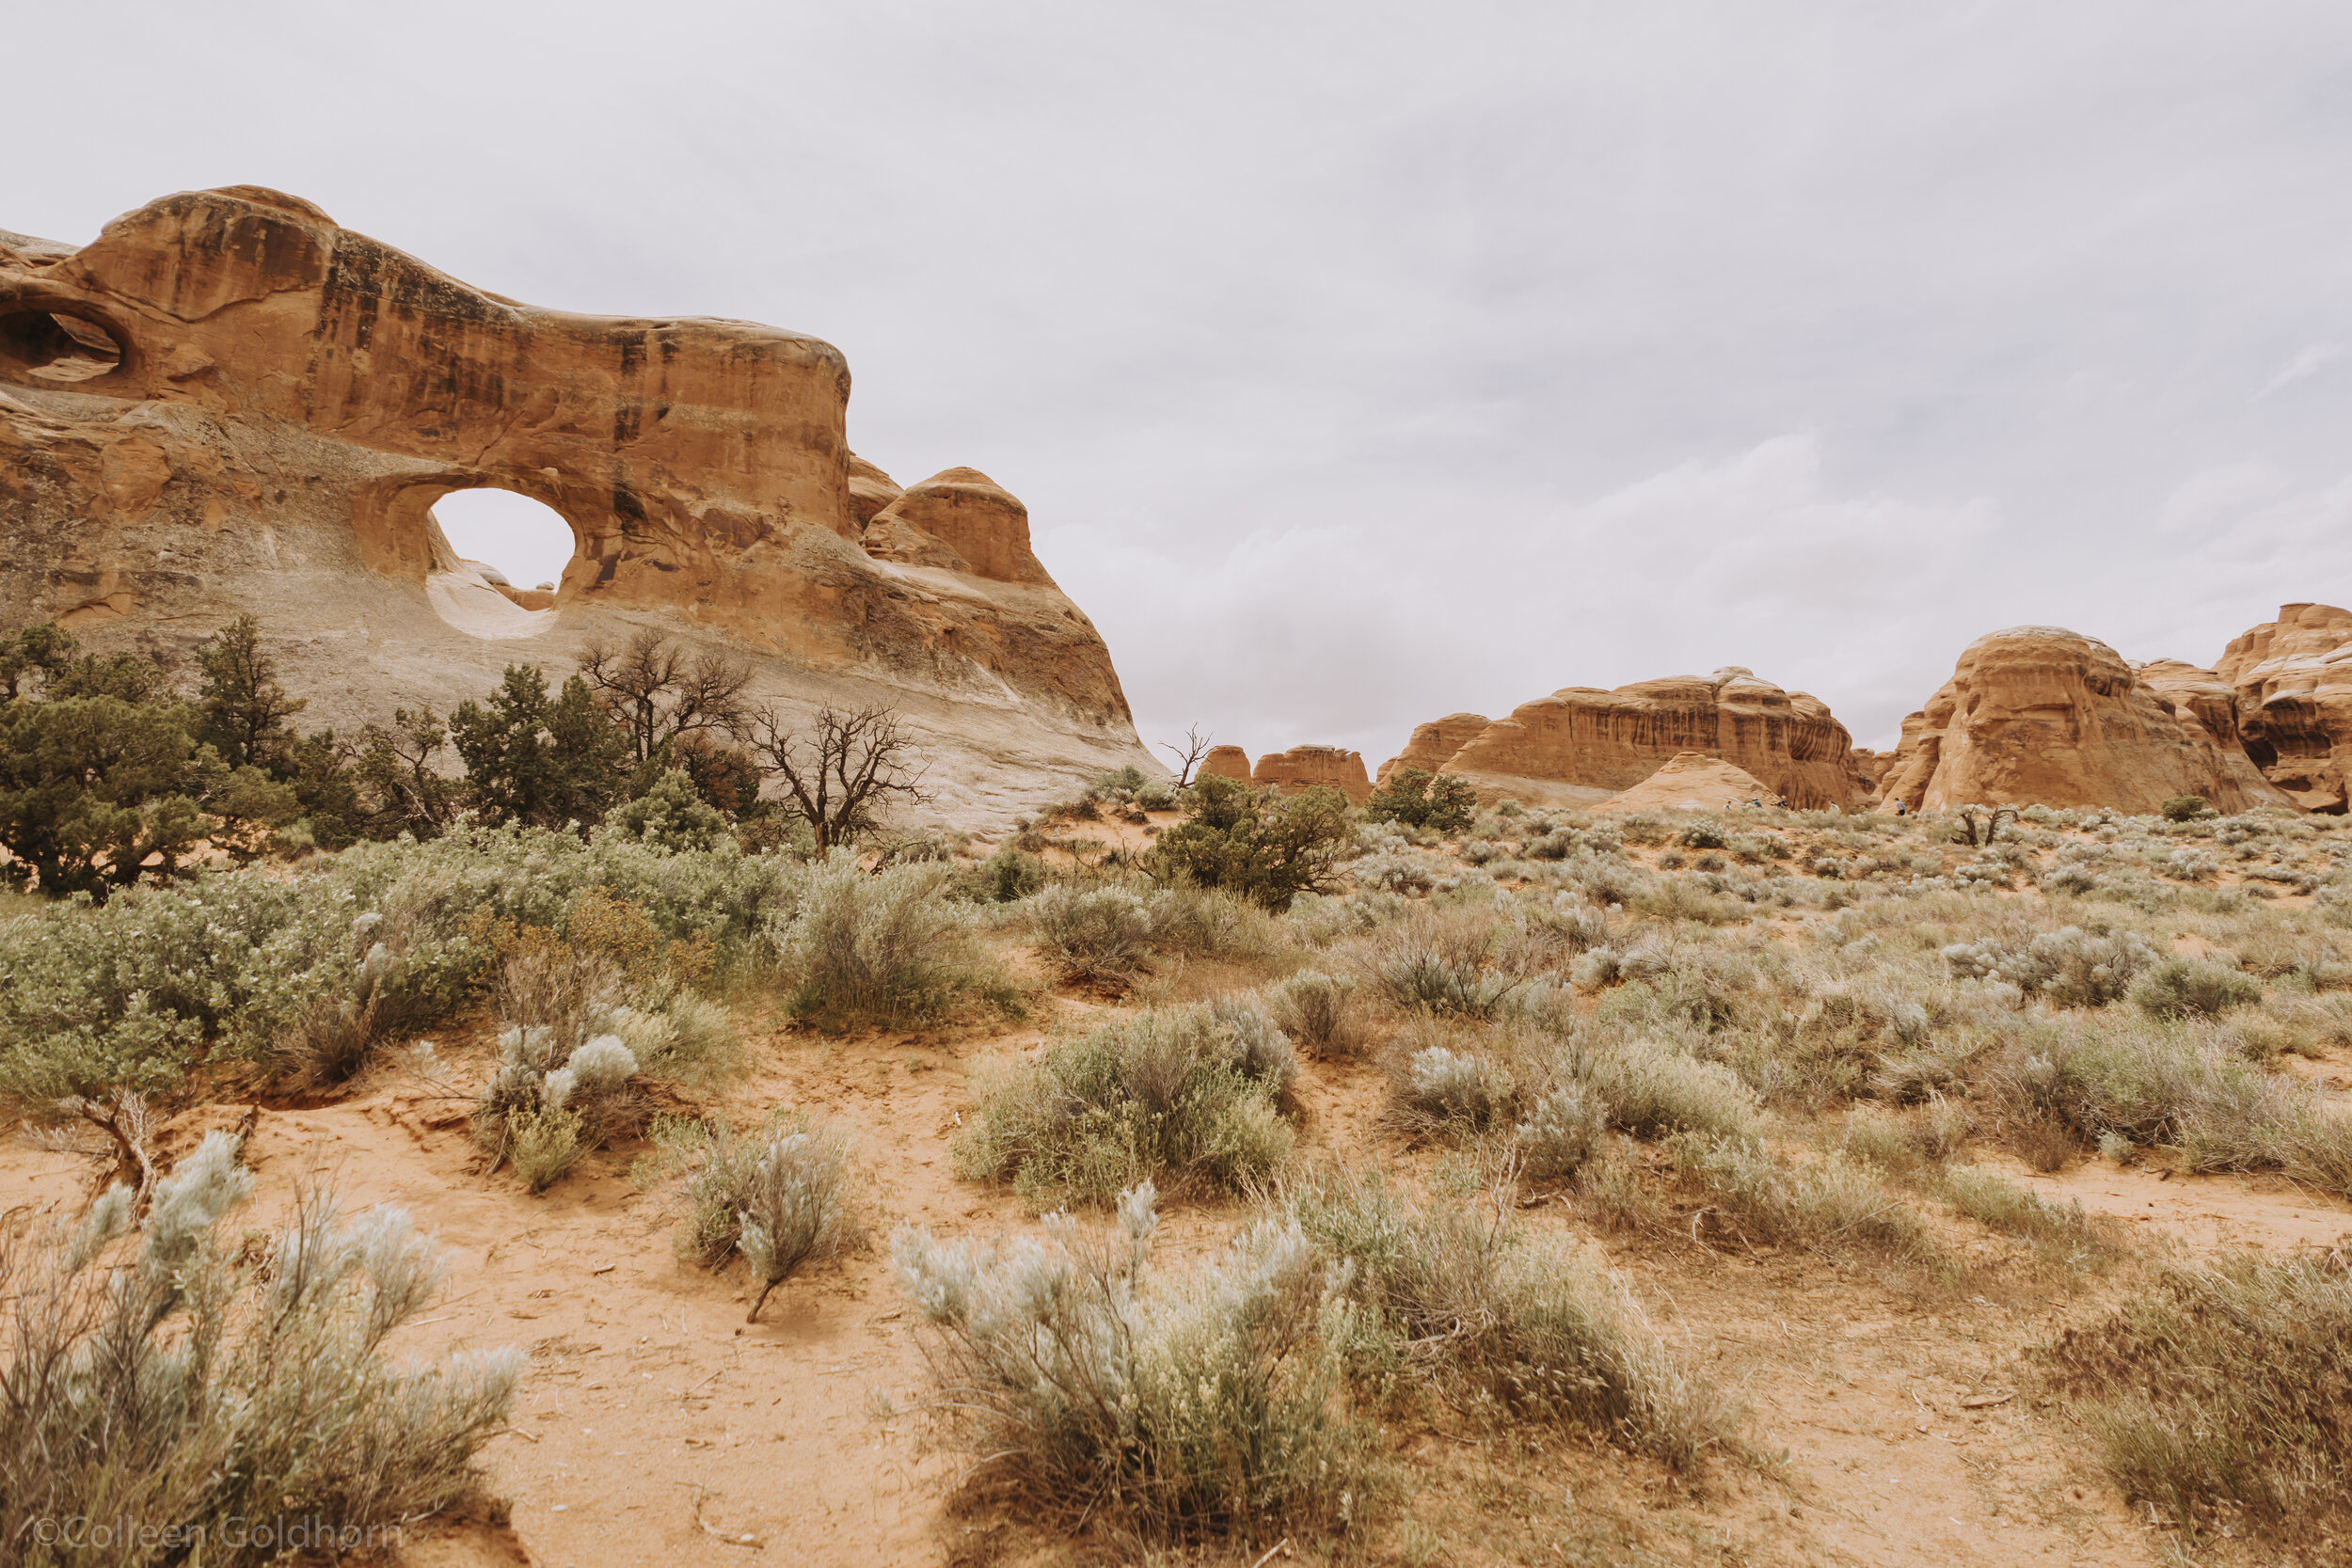
Although long and somewhat challenging, this trail gives hikers a true sense of the backcountry in Arches National Park. The route follows sandy washes, travels up slick rock faces, and winds through an endless field of sandstone fins. There is minimal shade on this trail, so it is recommended to travel early in the morning or in the late afternoon to avoid heat exhaustion and heat stroke.
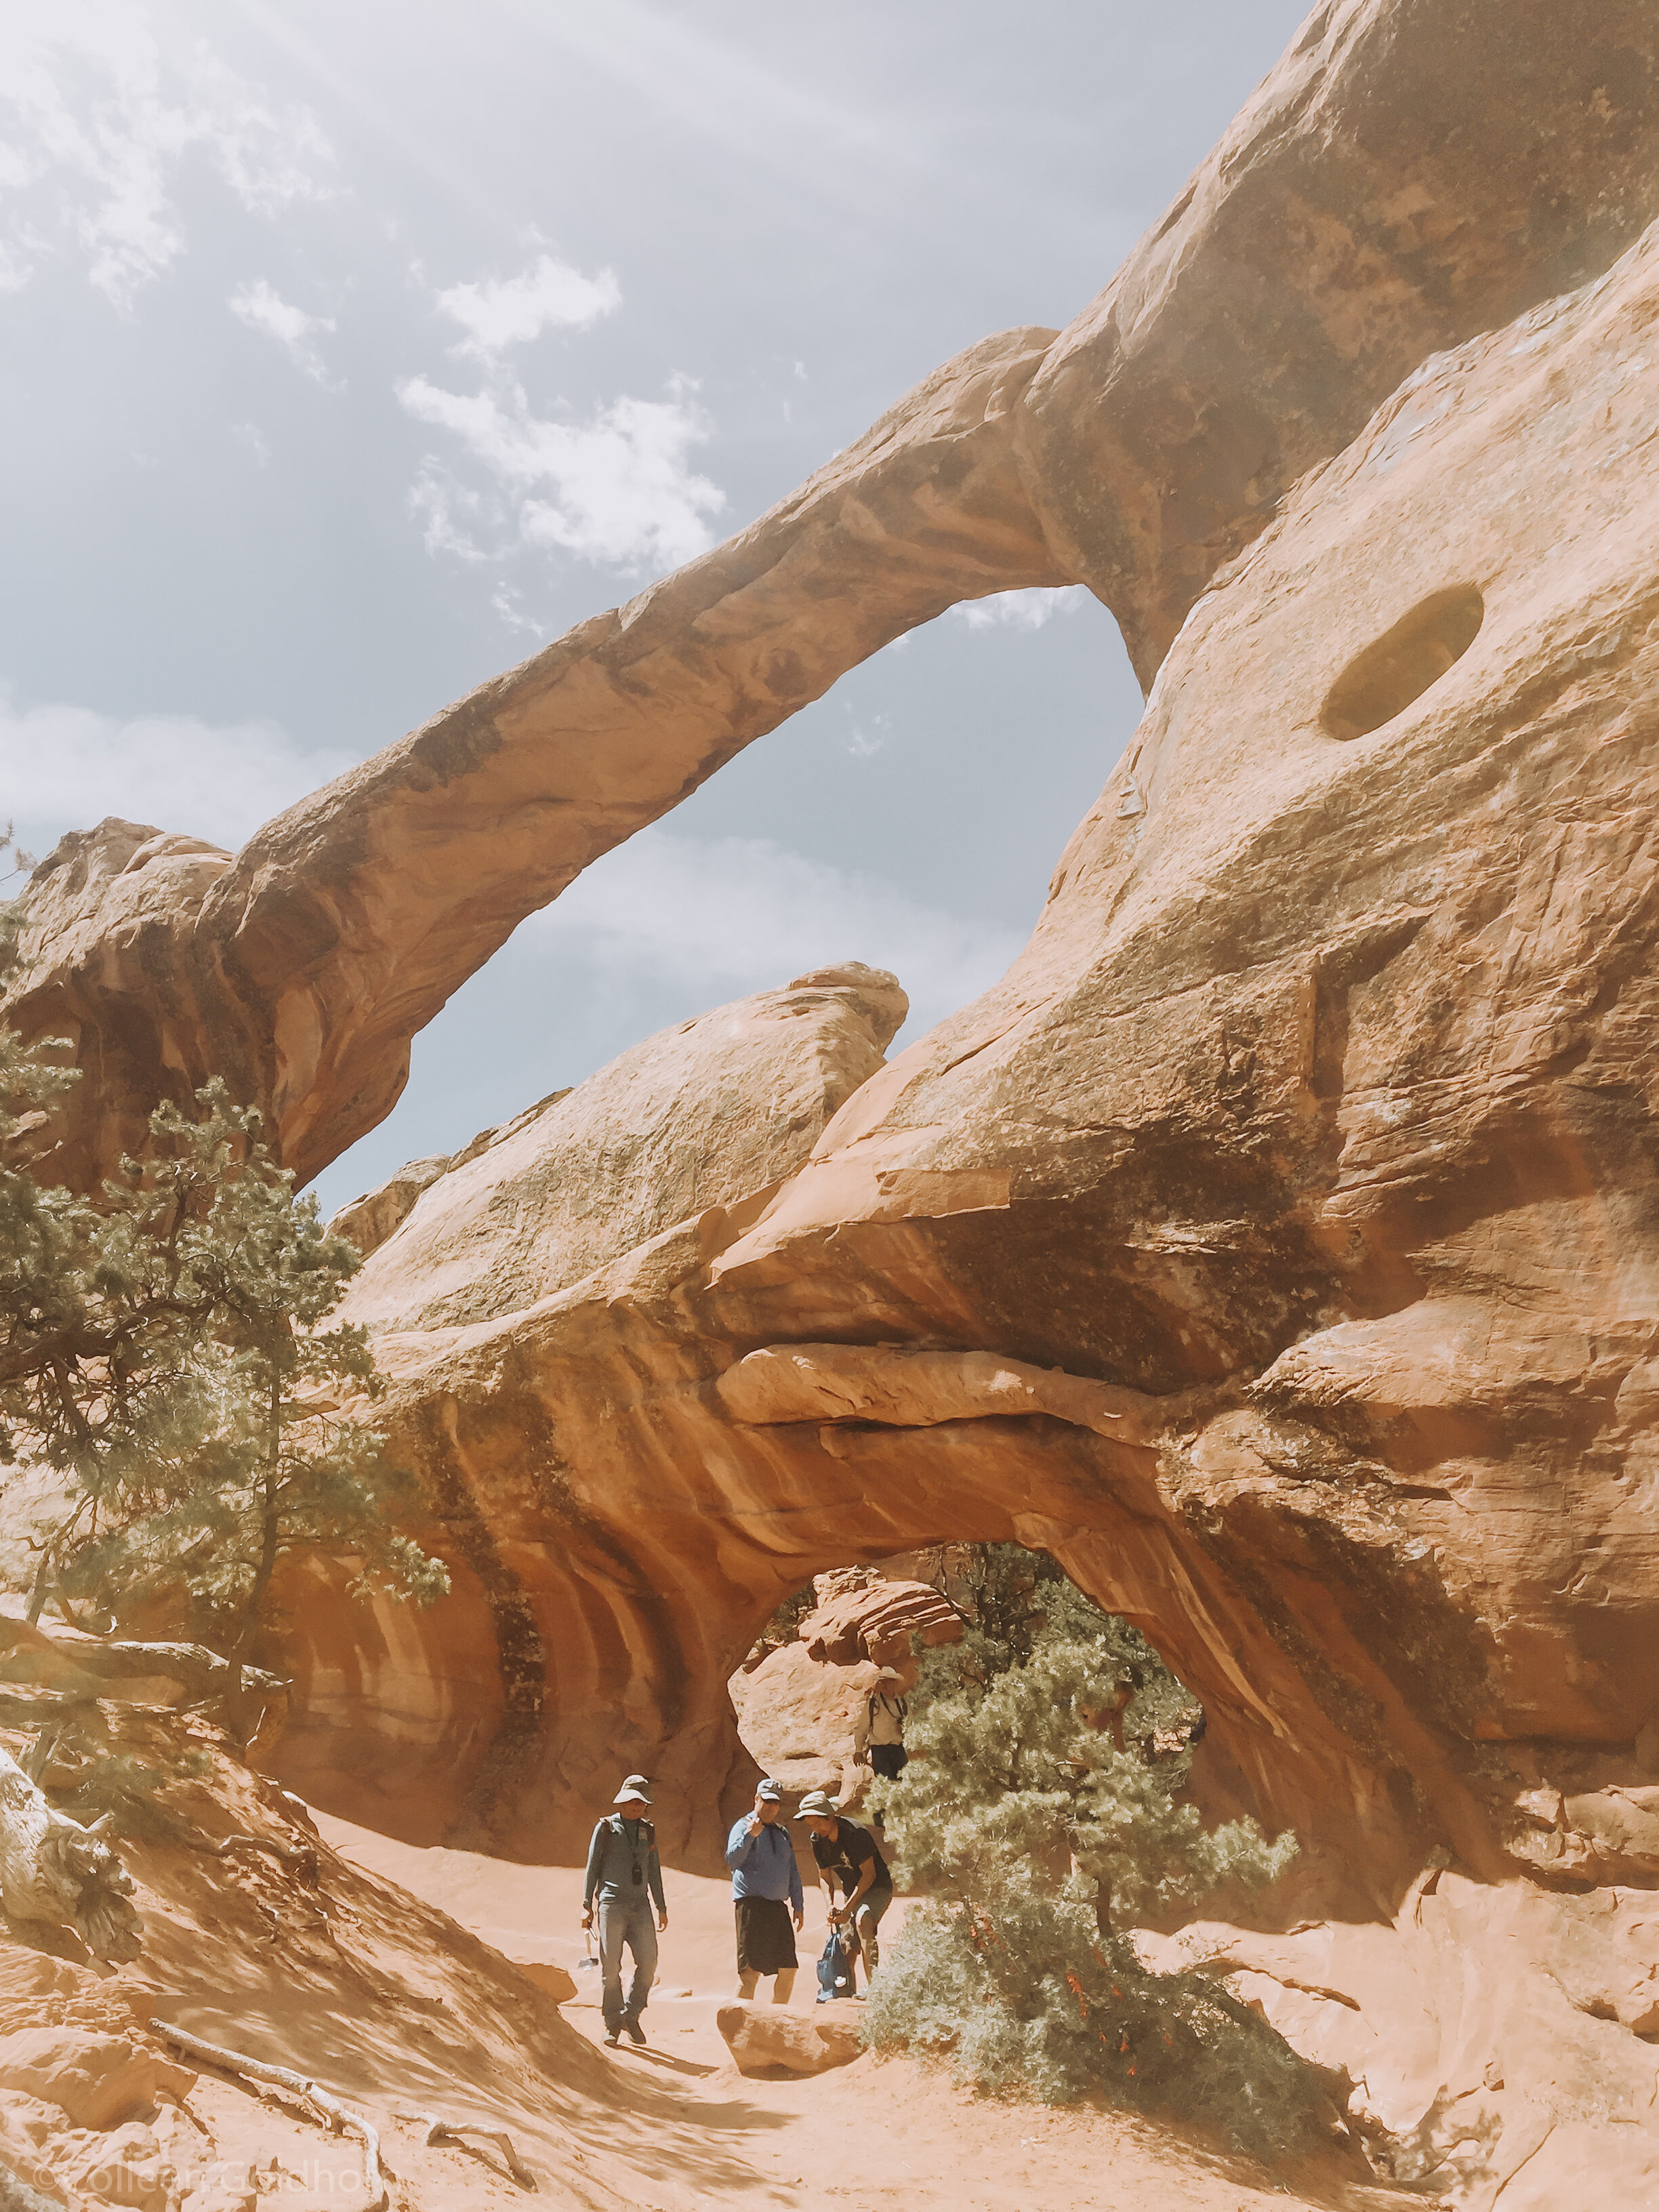
If you’re interested in seeing some of the arches in this area, but don’t want to travel the whole 7.5 mile trail, it’s easy to catch glimpses of Landscape, Pine Tree, and Tunnel Arches in a 1.9 mile version of this hike (essentially, just turn around after Landscape Arch).
This trail is difficult to follow at times. Be vigilant and follow a mixture of signs and rock cairns. Do not build cairns (or rock towers) on this trail as they are used as official trail markers and will confuse hikers.
The Details: Follow the Arches Scenic Road as far as you can. You will be dumped into the Devil’s Garden parking lot at the very end of the road. There is a water refill station at the trailhead, as well as privies. Follow signs towards Landscape Arch and walk down the trail through the rocks. You will see a short spur trail for Tunnel and Pine Tree Arches on your righthand side. Once back on the main trail, continue to Landscape Arch. If only hiking 1.9 miles, then turn around after viewing this arch. If doing the whole loop, then keep hiking forward on the narrow trail. Follow a mixture of signs and cairns until this loop brings you back to the car.
Arches order of appearance,
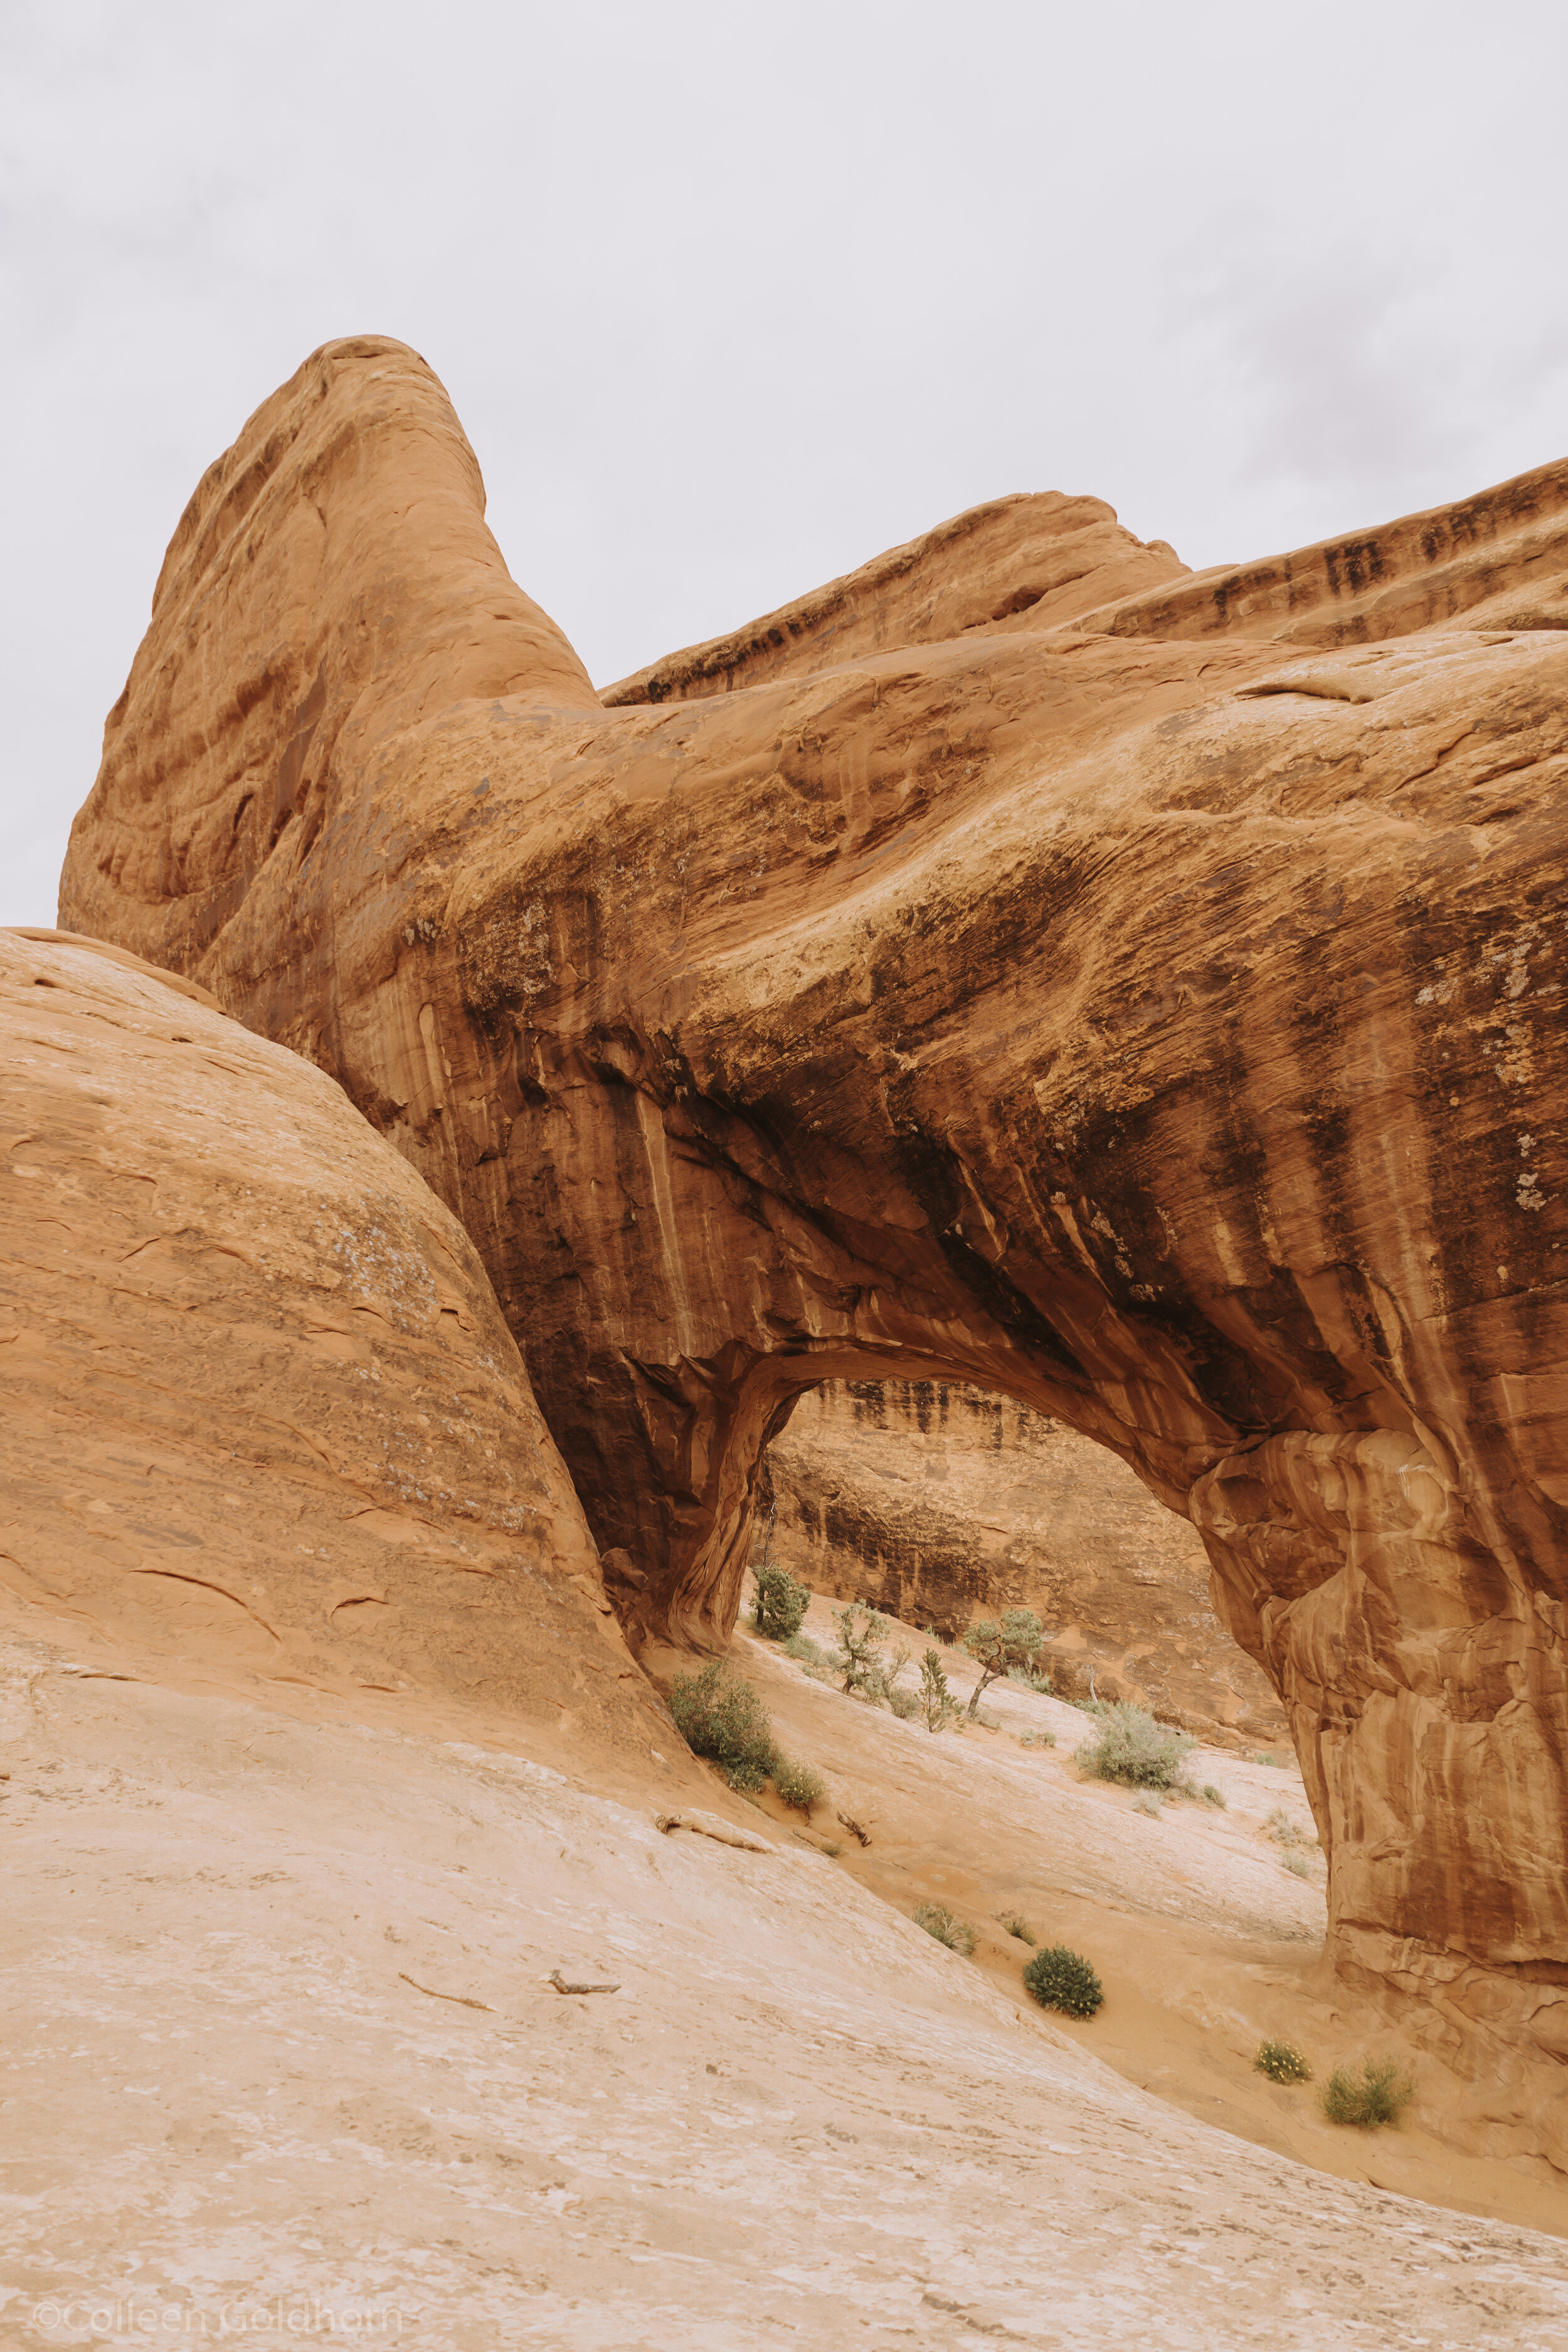
Tunnel Arch
Pine Tree Arch
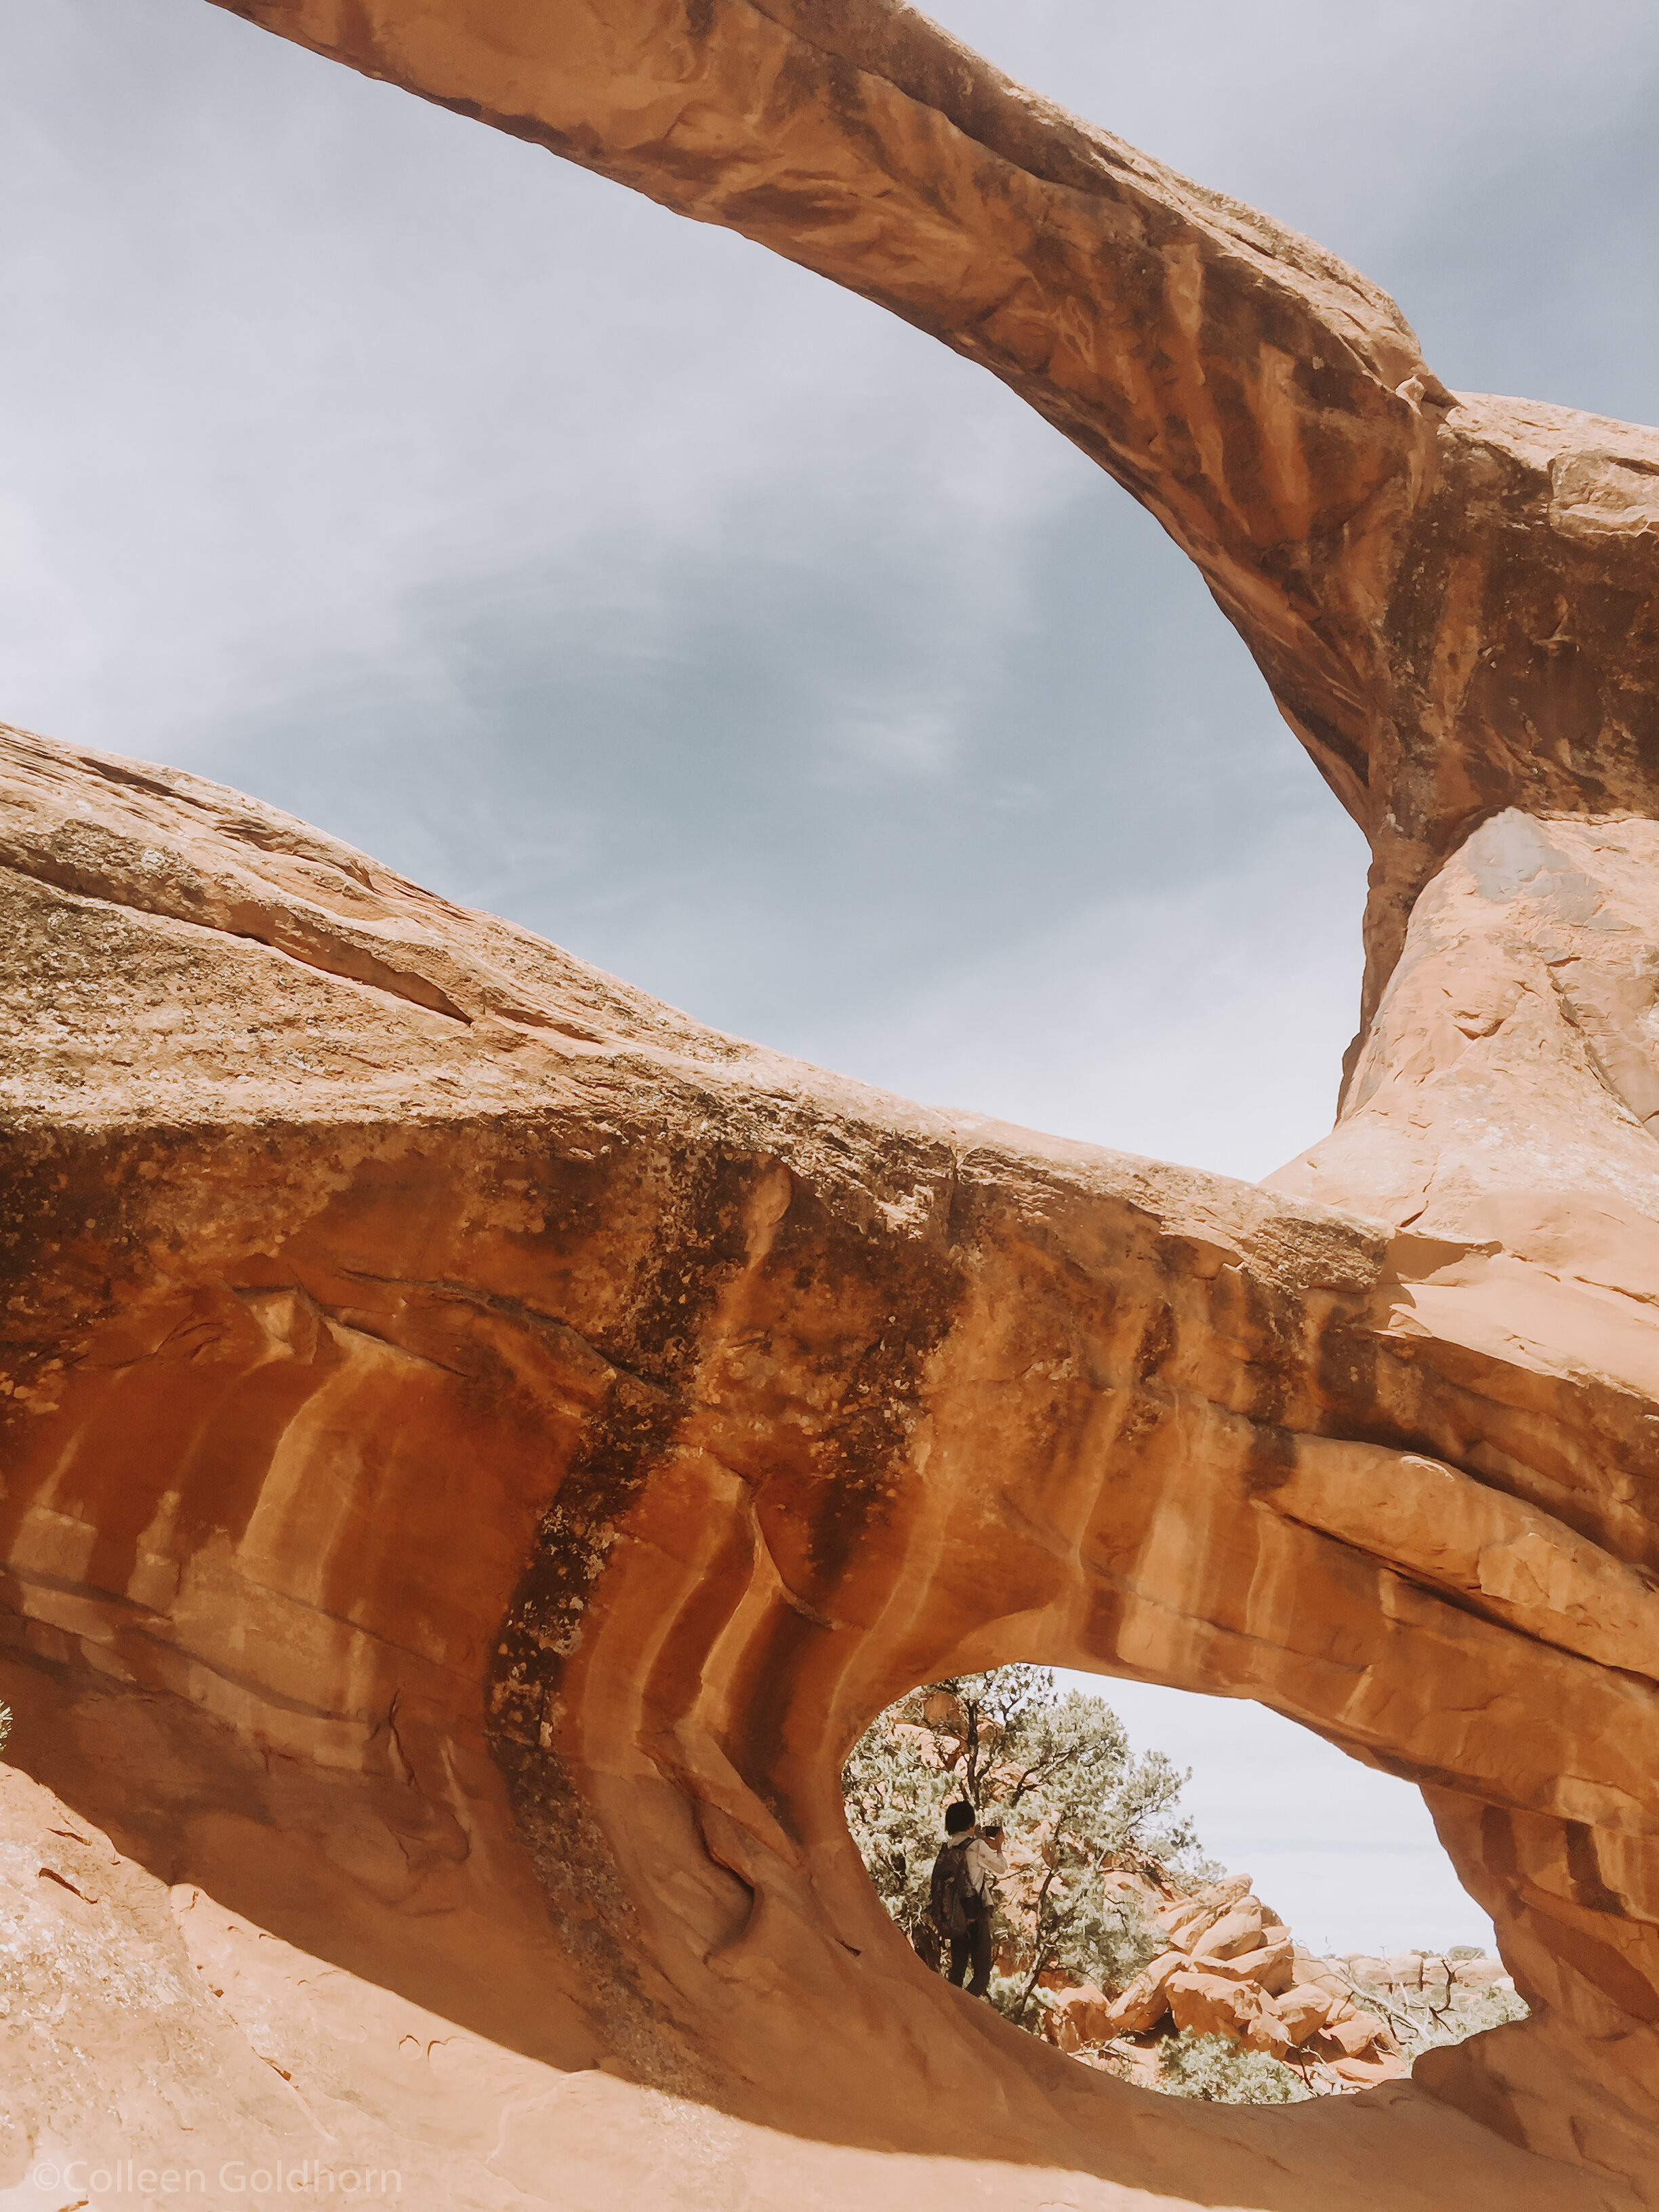
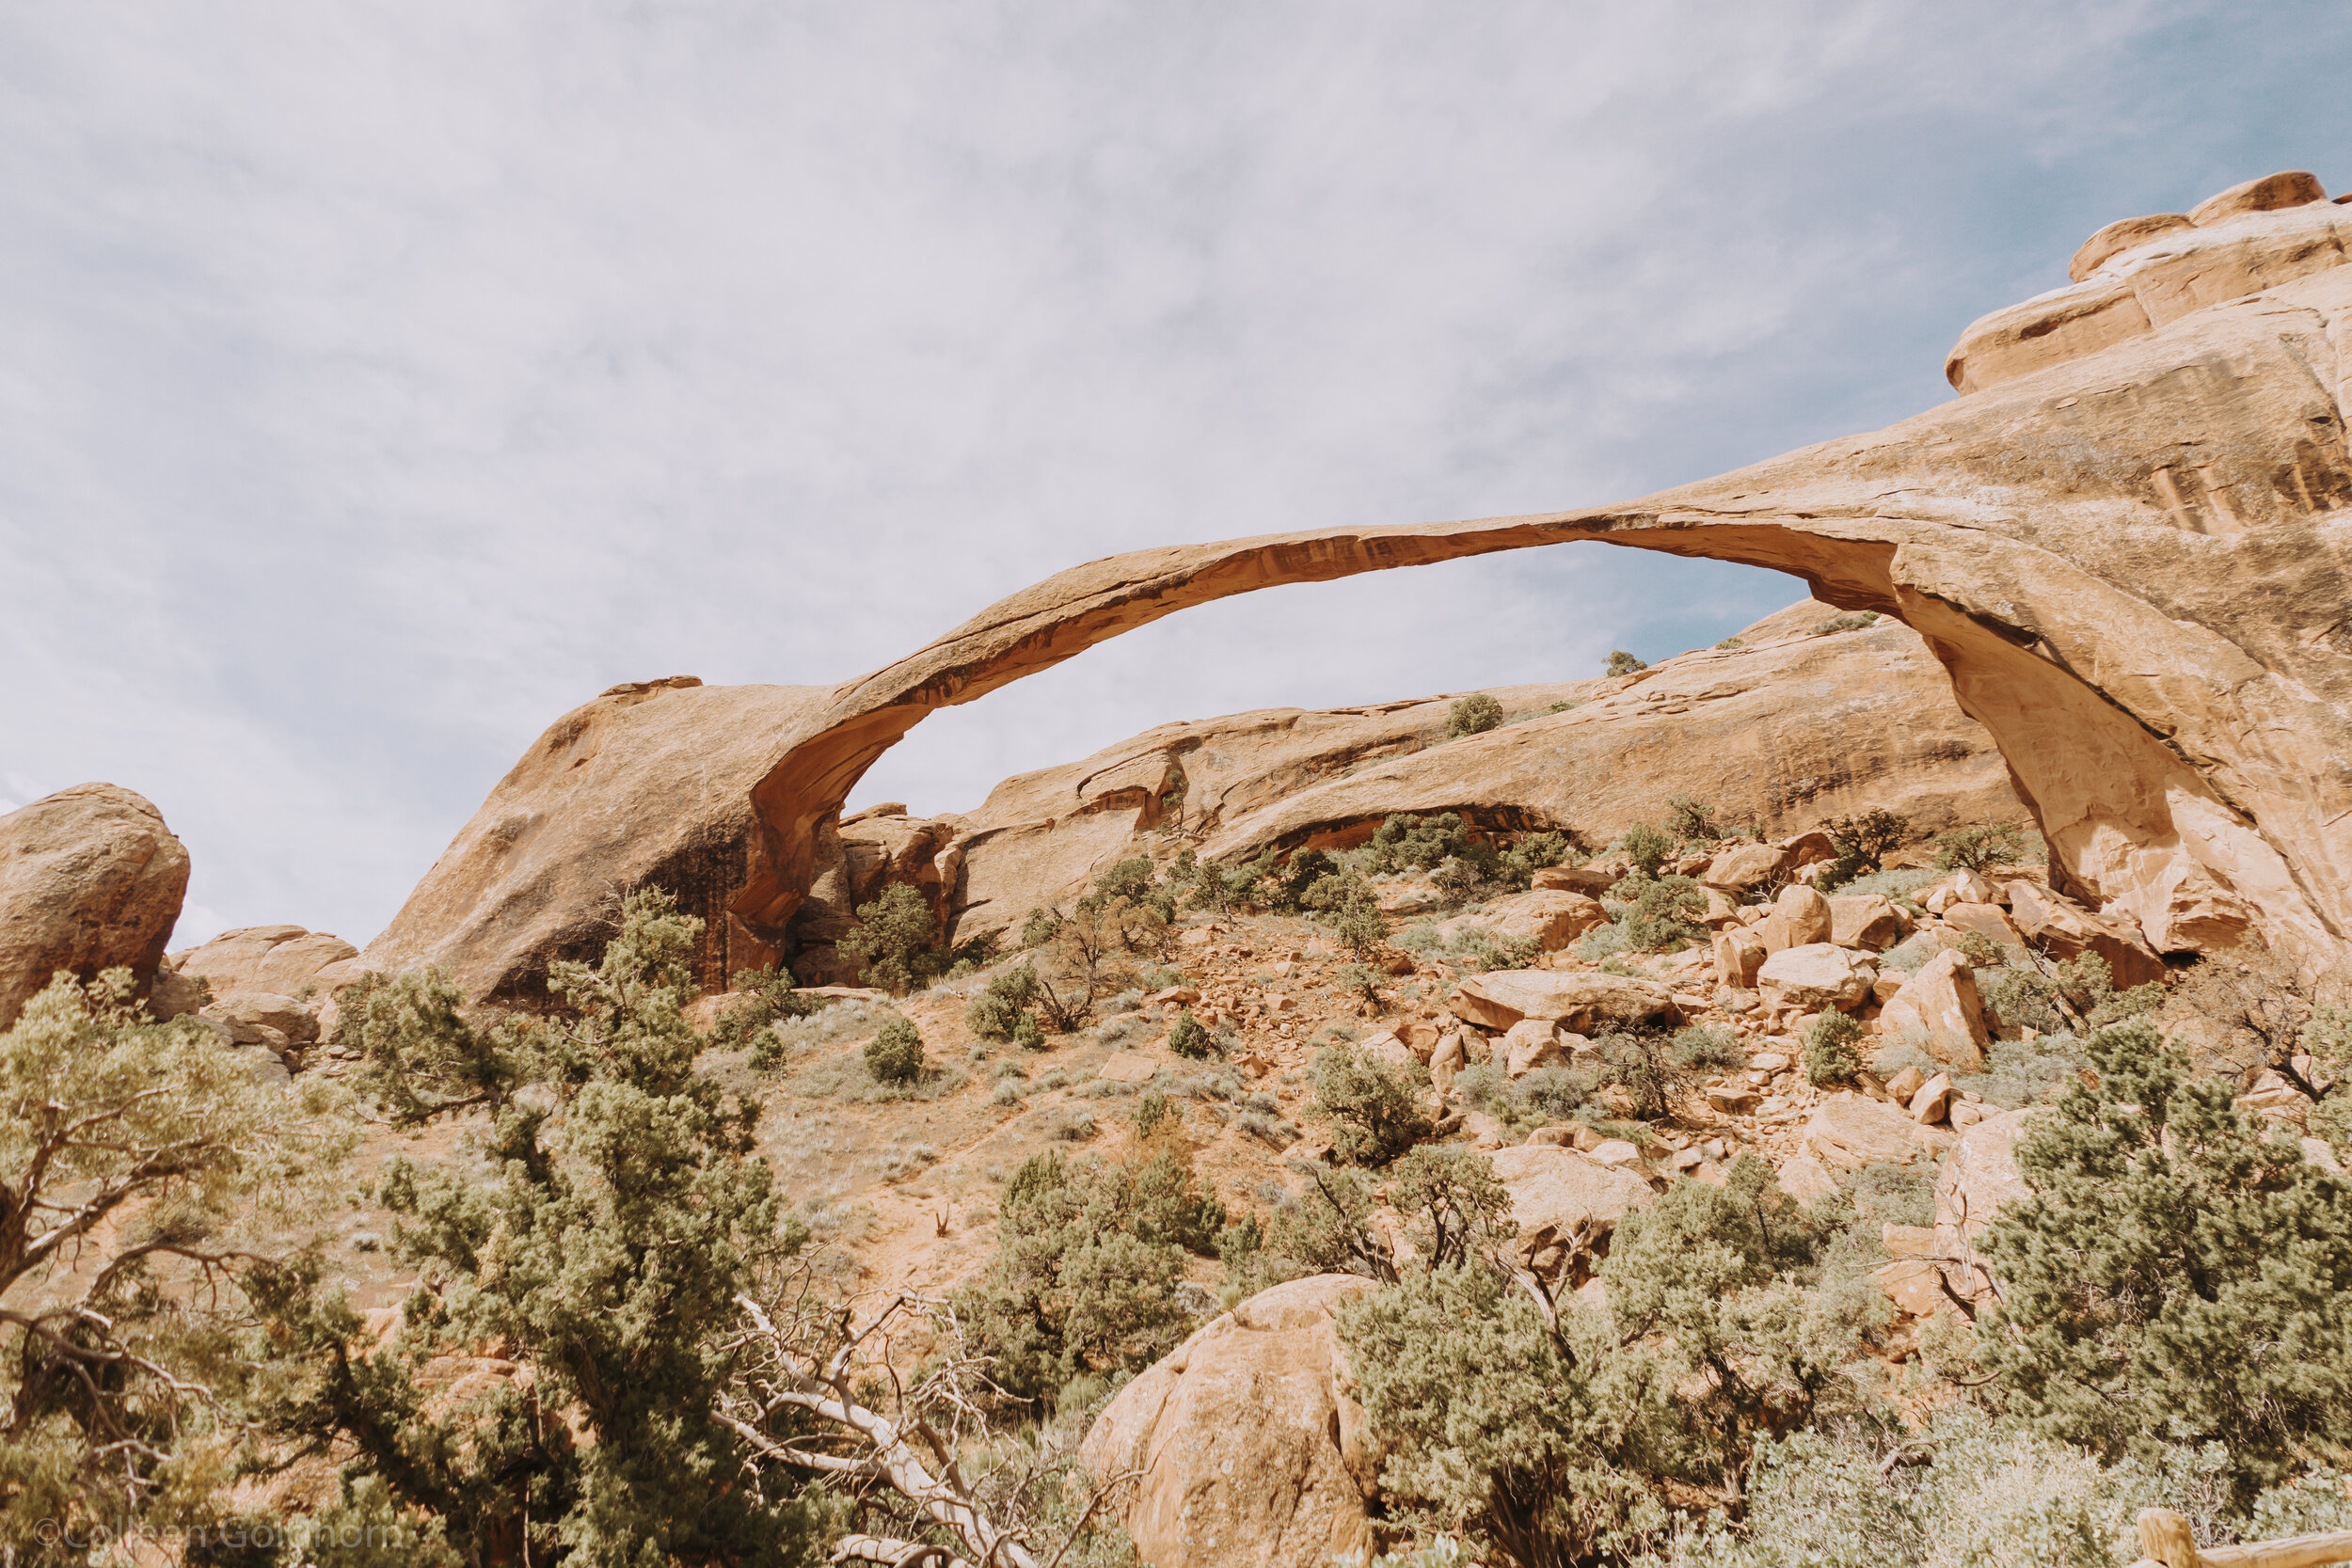
Landscape Arch
Partition Arch
Navajo Arch
Black Arch (via Black Arch Overlook)
Double O Arch
Private Arch
Gear: For this hike, we recommend bringing along either the Winter or Summer Day Hike Essentials, depending on the season.
*The information in this article is for planning purposes only. Actual trail conditions may vary depending on environmental factors. It is always advised to get the latest trail information from a park office or ranger before you begin your hike.